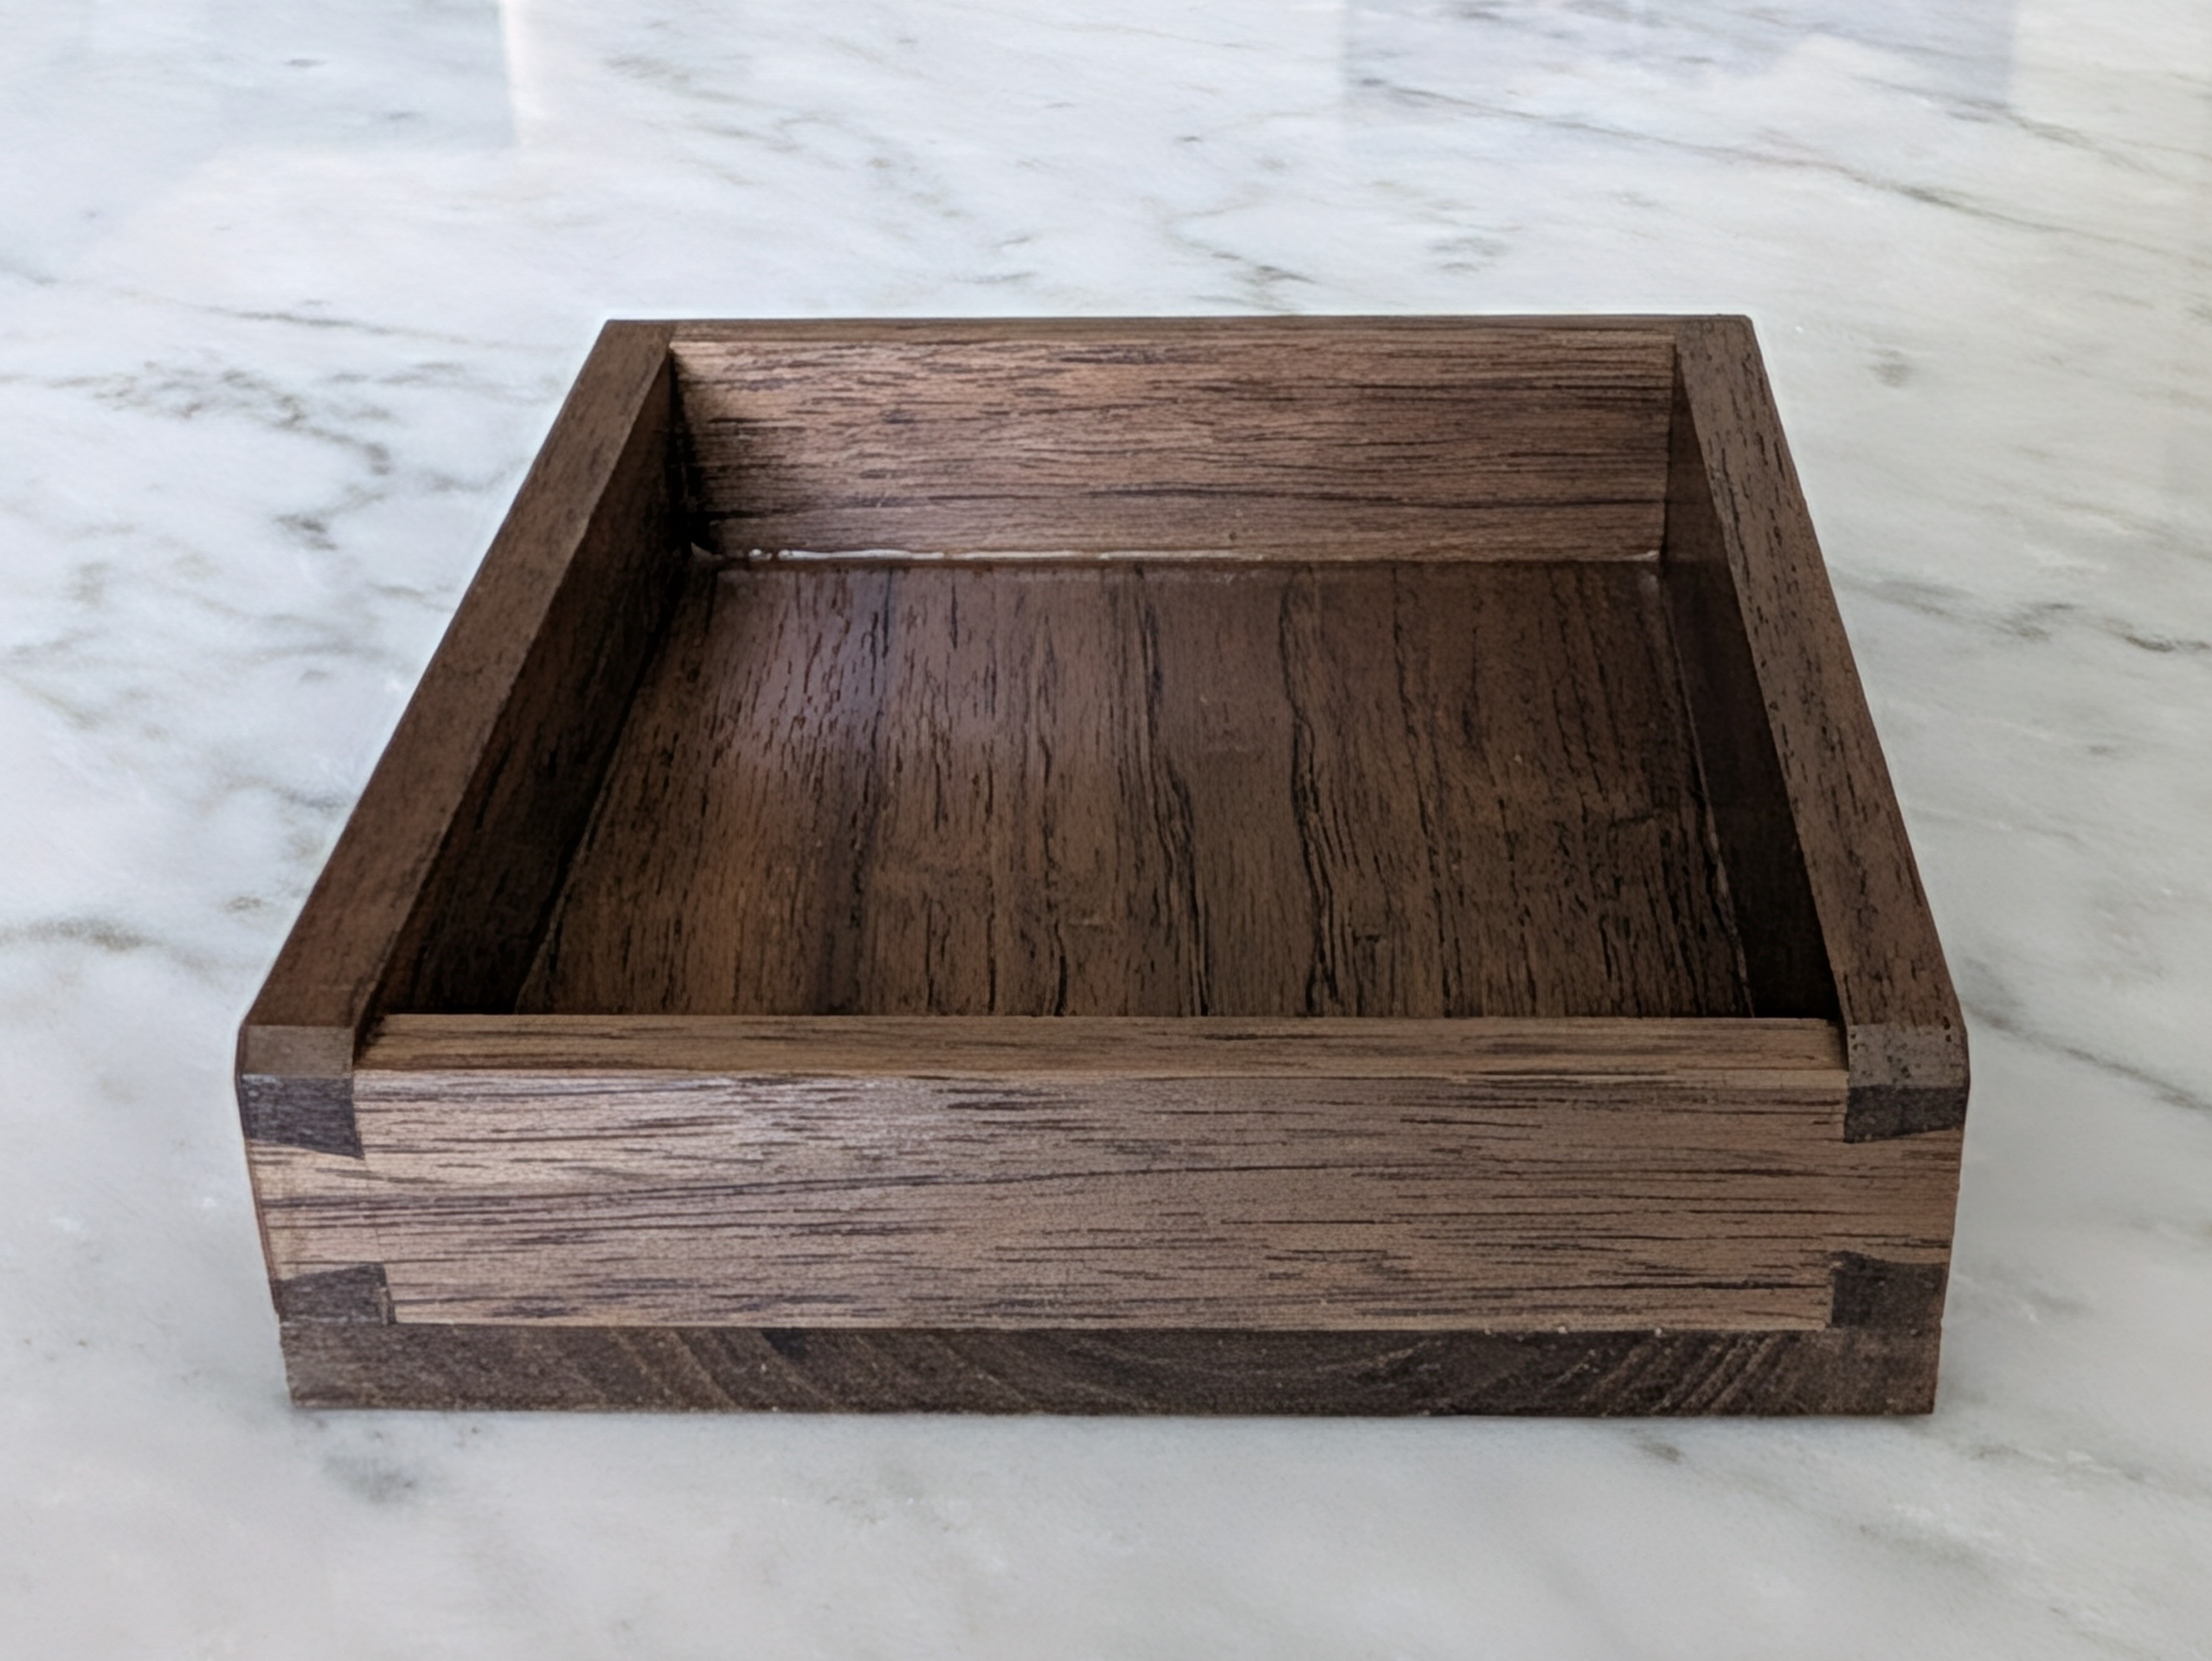
Materials
- 1/4 inch plywood
- Glue
- Brad nails
Tools
- Saw
- Clamps
- Pencil
- Chisel for 45 degree corner blocks
- Combination square
Plan
- See Claude chat
- See Excalidraw cross-section
- TODO!
Lab notes
2025-12-24
- Bevels aren’t going to work as planned - how to accurately cut a 45° angle in ¼” ply? Also cutting down the middle of a long strip as planned would expose the ply rather than the veneer.
- Alternative: Cut a wider strip and cut two 45° angles out of the edges (still hard?)
- Alternative: Cut a half octagon into the short side instead, and have three base pieces
- First cut! 30” straight along the “grain” of the plywood. Marked with pencil and then knife.
- Didn’t end up very straight
- Some tear out of the veneer
- #task watch a saw technique video [scheduled:: 2025-12-24] [completion:: 2025-12-25]
- Learning: crosscut saw probably better (more TPI, my saw has 8)
- Learning: score a line on the back side of the cut, use painters tape along the line
- Cut list: forgot that boxes need four sides each (two of each length, not one)
- Tools:
- Chisels came in handy to clean up bad saw cuts, but need sharpening
- Marking gauge would be nice instead of constructing parallel lines with the square
2025-12-25
- Glue up surface, to avoid gluing work piece to worksurface?
- Glue up challenging because of butt joints. Short ends only attach at base, so clamp force has to be very precise or it just rocks the part away from the joint
- Nails might help, but how to nail into the ends without a vice?
- A proper box joint or dovetail would help
- Maybe watch box making video
2025-12-26
- Box feels surprisingly sturdy despite butt joints, janky angles and glue-up false starts.
- Finished it, quicker than I thought
- Finish is a bit “gritty” - didn’t sand?
2026-01-04
- Tried using hand plane (#4) to cut 45 degree angles for the bevel. Worked pretty well although laborious. Used articulated bench vise to make angle easier. Hard to get exact angle? Maybe not if I marked it first. Or made a jig to clamp to?
2026-01-10
- First attempt at v2 - with dovetails - and with solid wood - 1/4” poplar.
- First hitch - poplar board arrived visibly bowed (about 1.5mm) in both dimensions. Planing flat would have removed half the thickness (I also tried it but it was hard).
- During design I decided to make the short sides have grain run vertically instead of horizontally. That is a mistake because dovetails need the grain to run parallel to both the pins and tails. This way the tails just snapped off easily.
- When laying out the dovetails I made a “measuring jig” to mark out the short and long dimensions on each edge. However it seemed to be really inaccurate, maybe because of my edges (or the jig edge) not being perfectly square.
- When cutting the dovetails I fucked up and cut into one of the tails, thinking it was waste to be chiselled out.
- Maybe I can salvage it by just gluing up butt joints after all? Probably need nails since the butt joints will be weaker with solid wood than with plywood.
2026-02-03
- Started V2 attempt 2, in ¼” walnut.
- Cut bases to rough size and ripped sides and bevels.
- Plan: before crosscutting sides to length, true up edges with plane or chisel.
2026-02-10
- Surfaced and mostly jointed edges (not perfectly square to faces)
- Cut all pieces to rough size
- At some point later, finished jointing edges (except bases)
2026-06-11
- Marked and cut all sides to length (ends need cleanup with plane or chisel, but deferring to after dovetails)
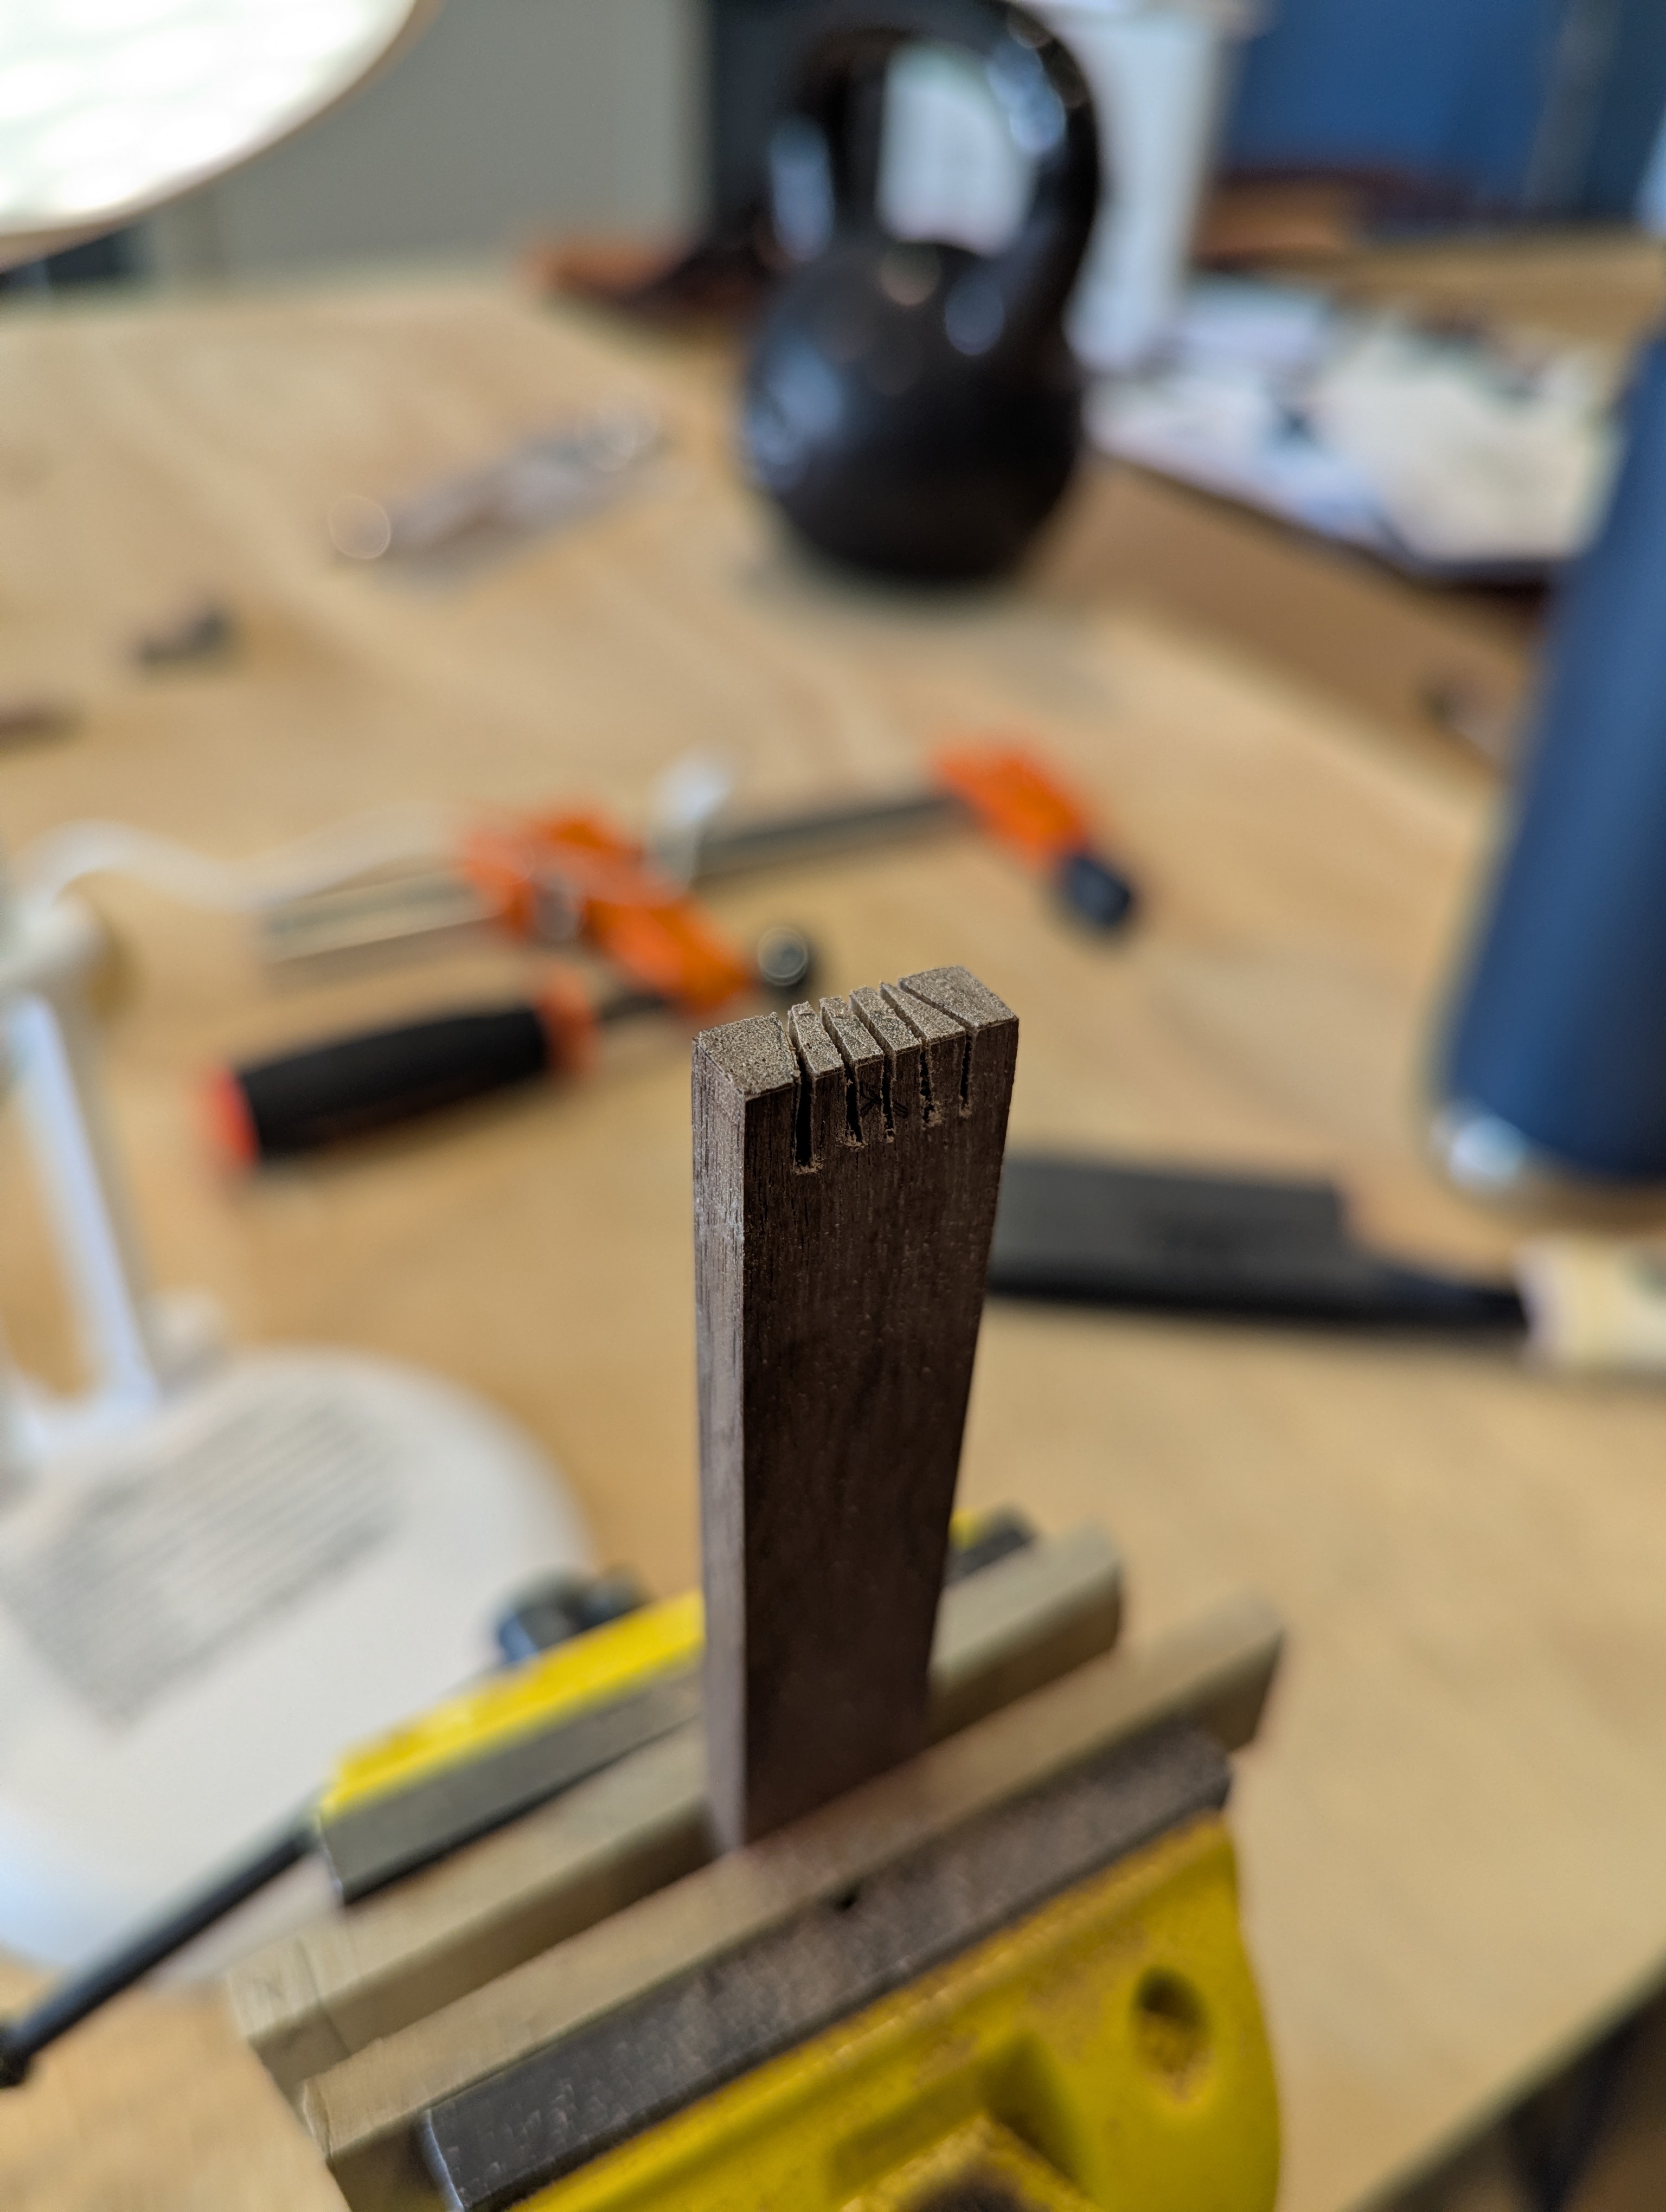
- Rough cut tails on short sides. Needs cleanup with chisel. Then: transfer tails and cut pins!
2026-06-13
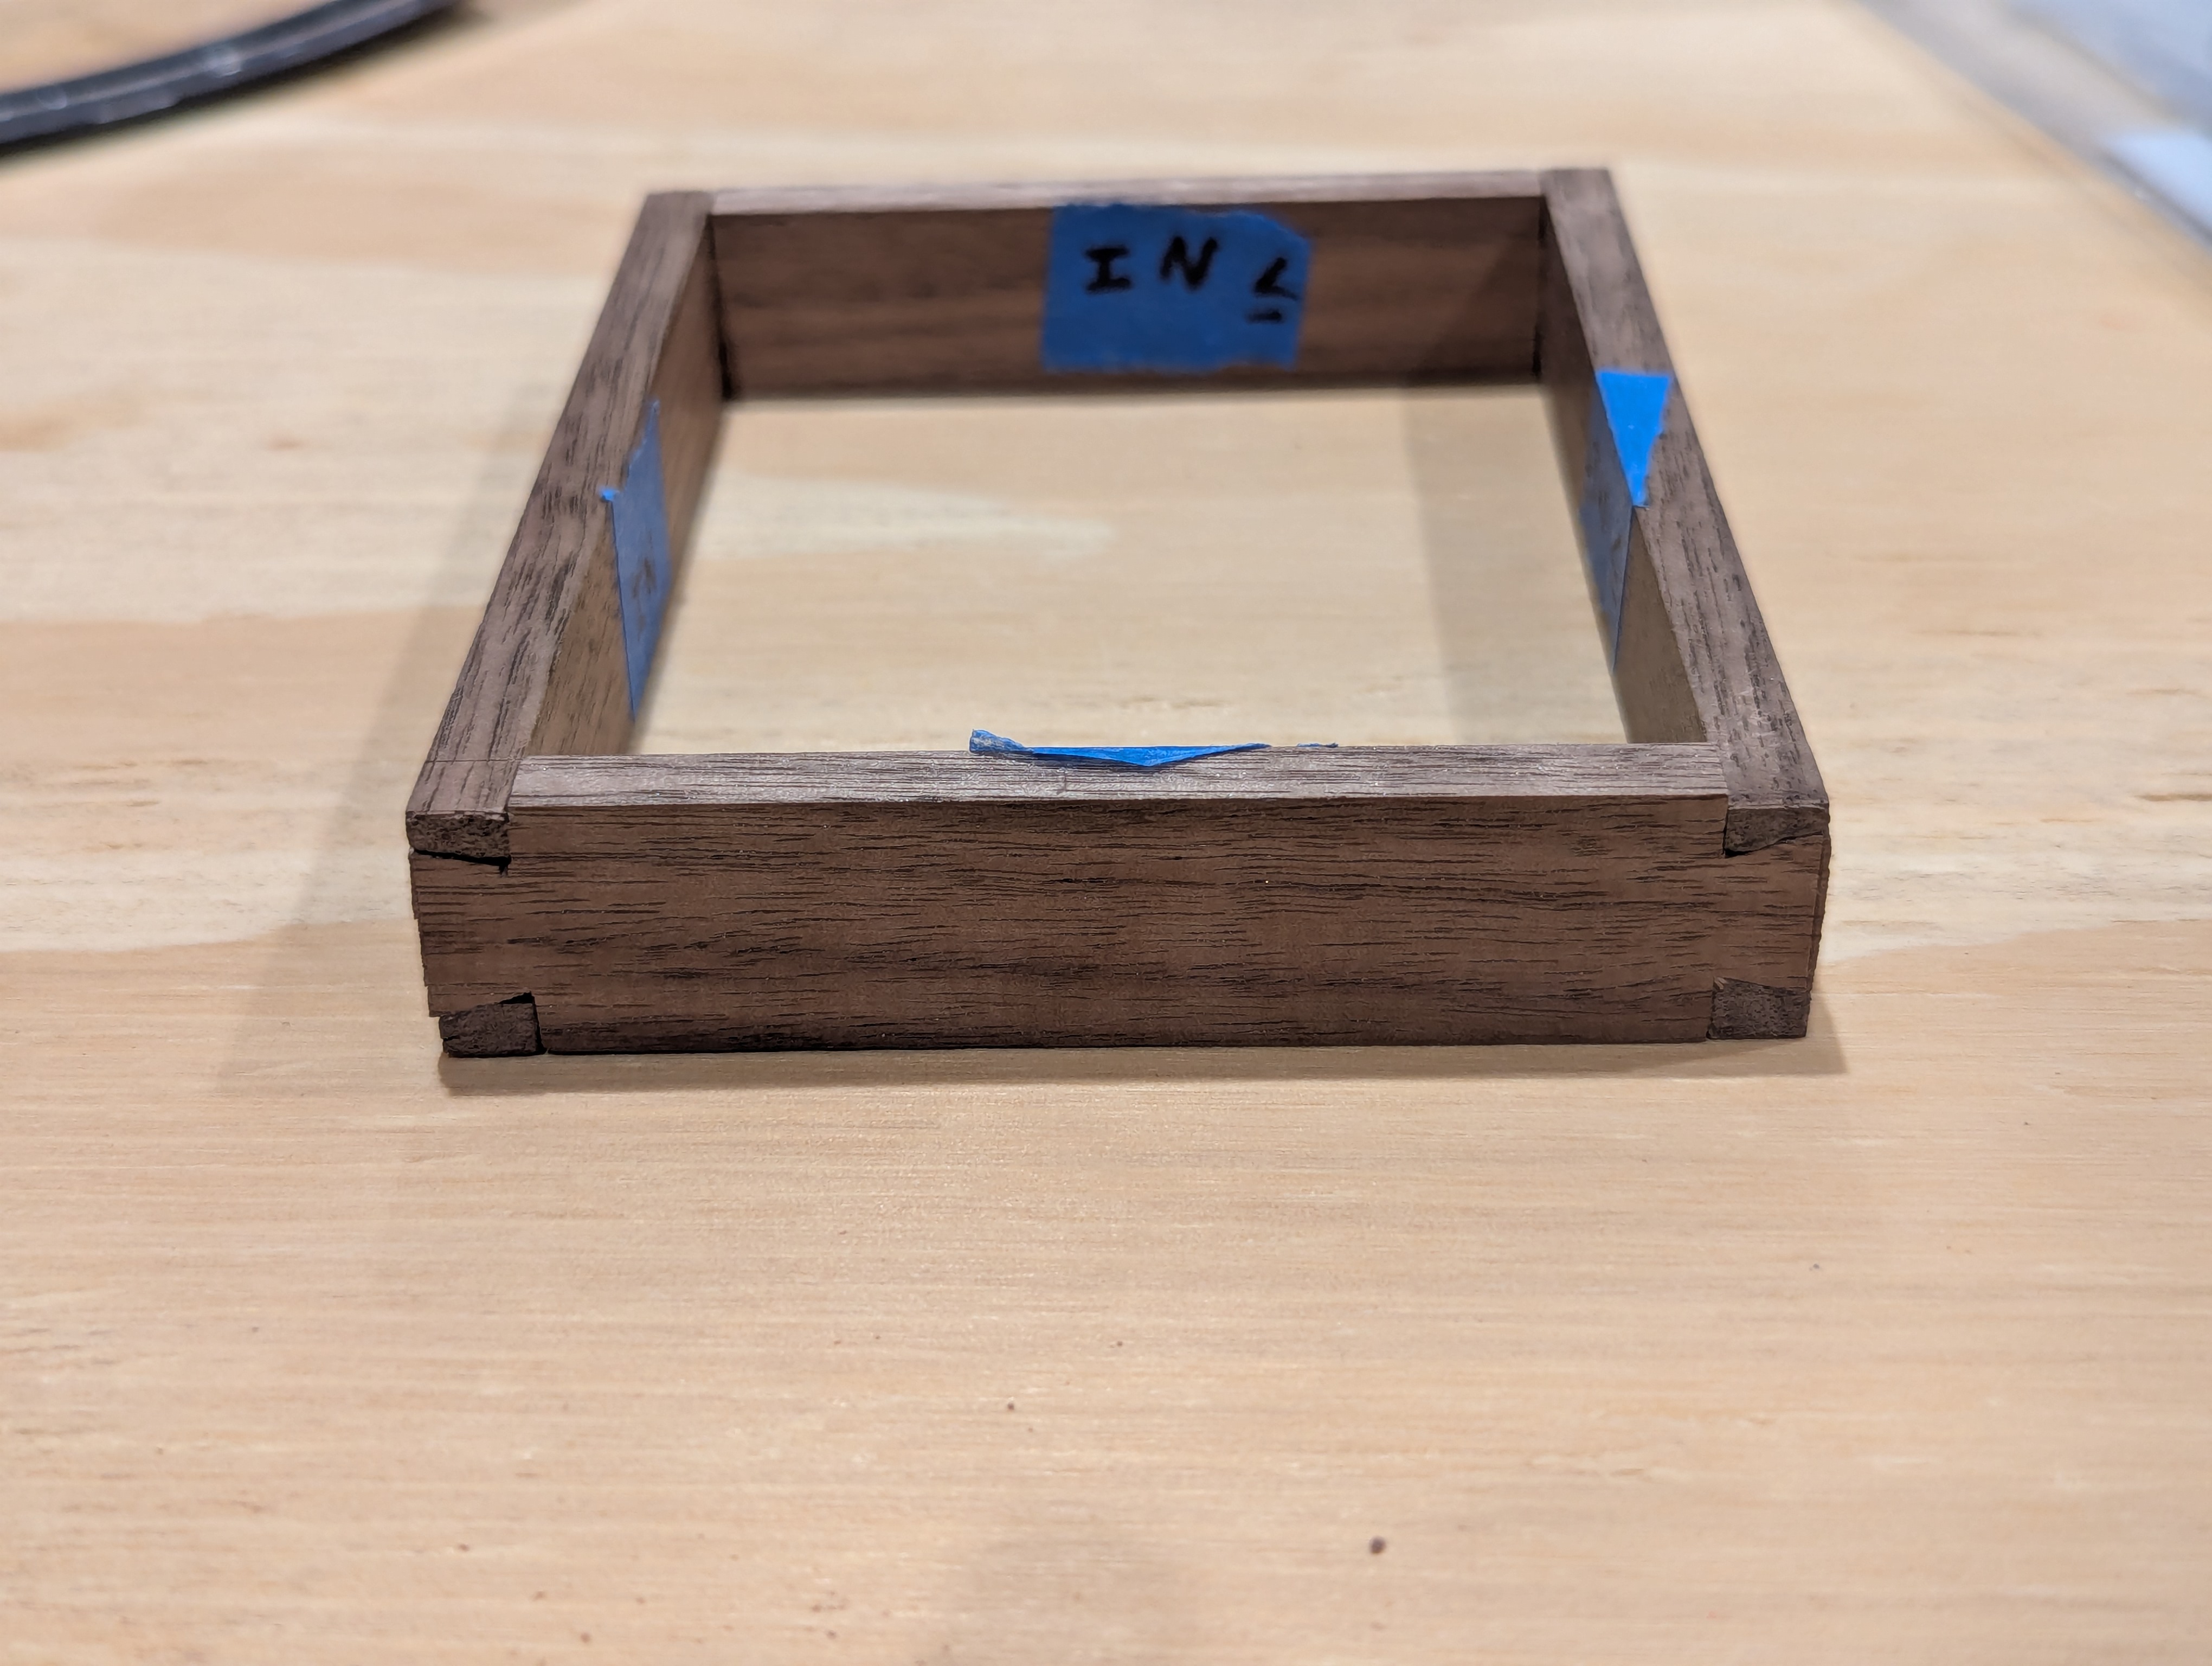
- Cut and cleaned up pins, full dry assembly complete!
- First hardwood dovetails!#ppp
- Next: trim base, surface with plane or card scraper, level bottoms and tops with plane. Then glue up!
2026-06-24
- surfaced base and sides, bevelled, trimmed base
- straight edge up against two bench dogs made a good planing stop for this ¼ inch stock
- tried planing protruding tail and pin bits but got lots of tearout and collateral damage so gave up. Apparently this was supposed to happen after gluing up the frame
- tails splintered a bit, making joint looser though not completely ruined. Saved the chips to squish back in later
- bench hook made an okay shooting board
- glued up frame!
- next: glue to base, varnish, done!
2026-06-27
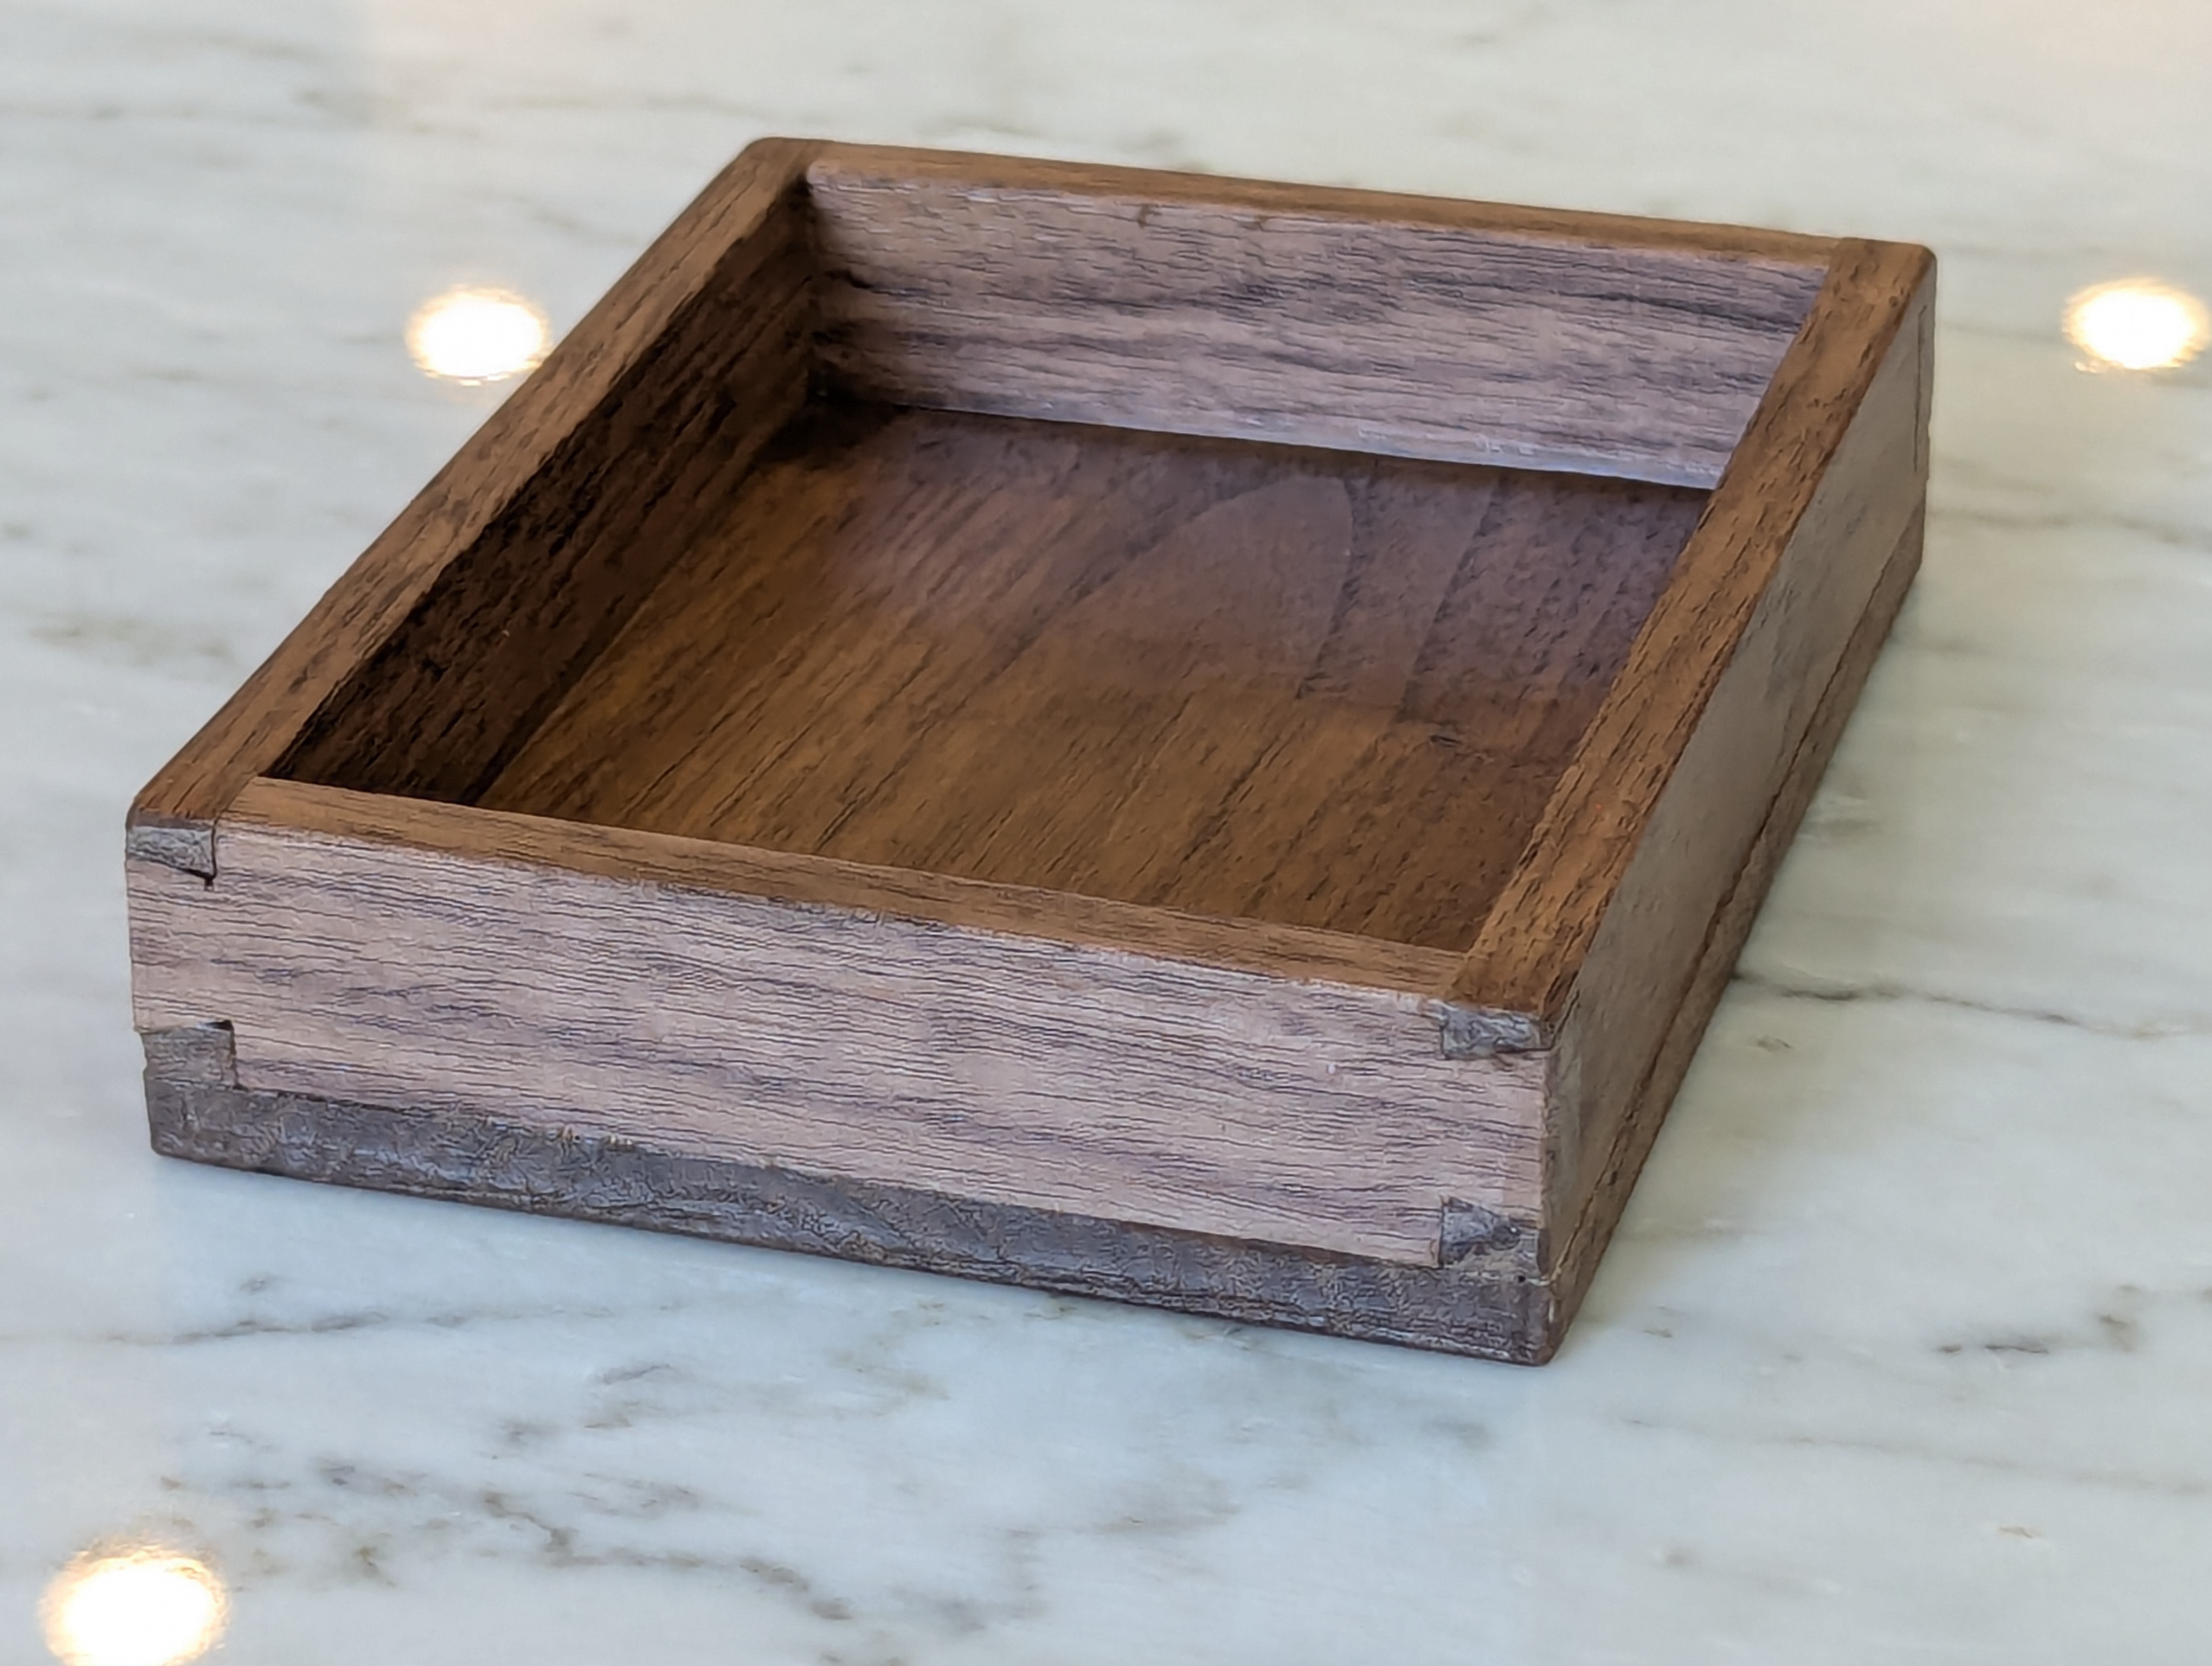
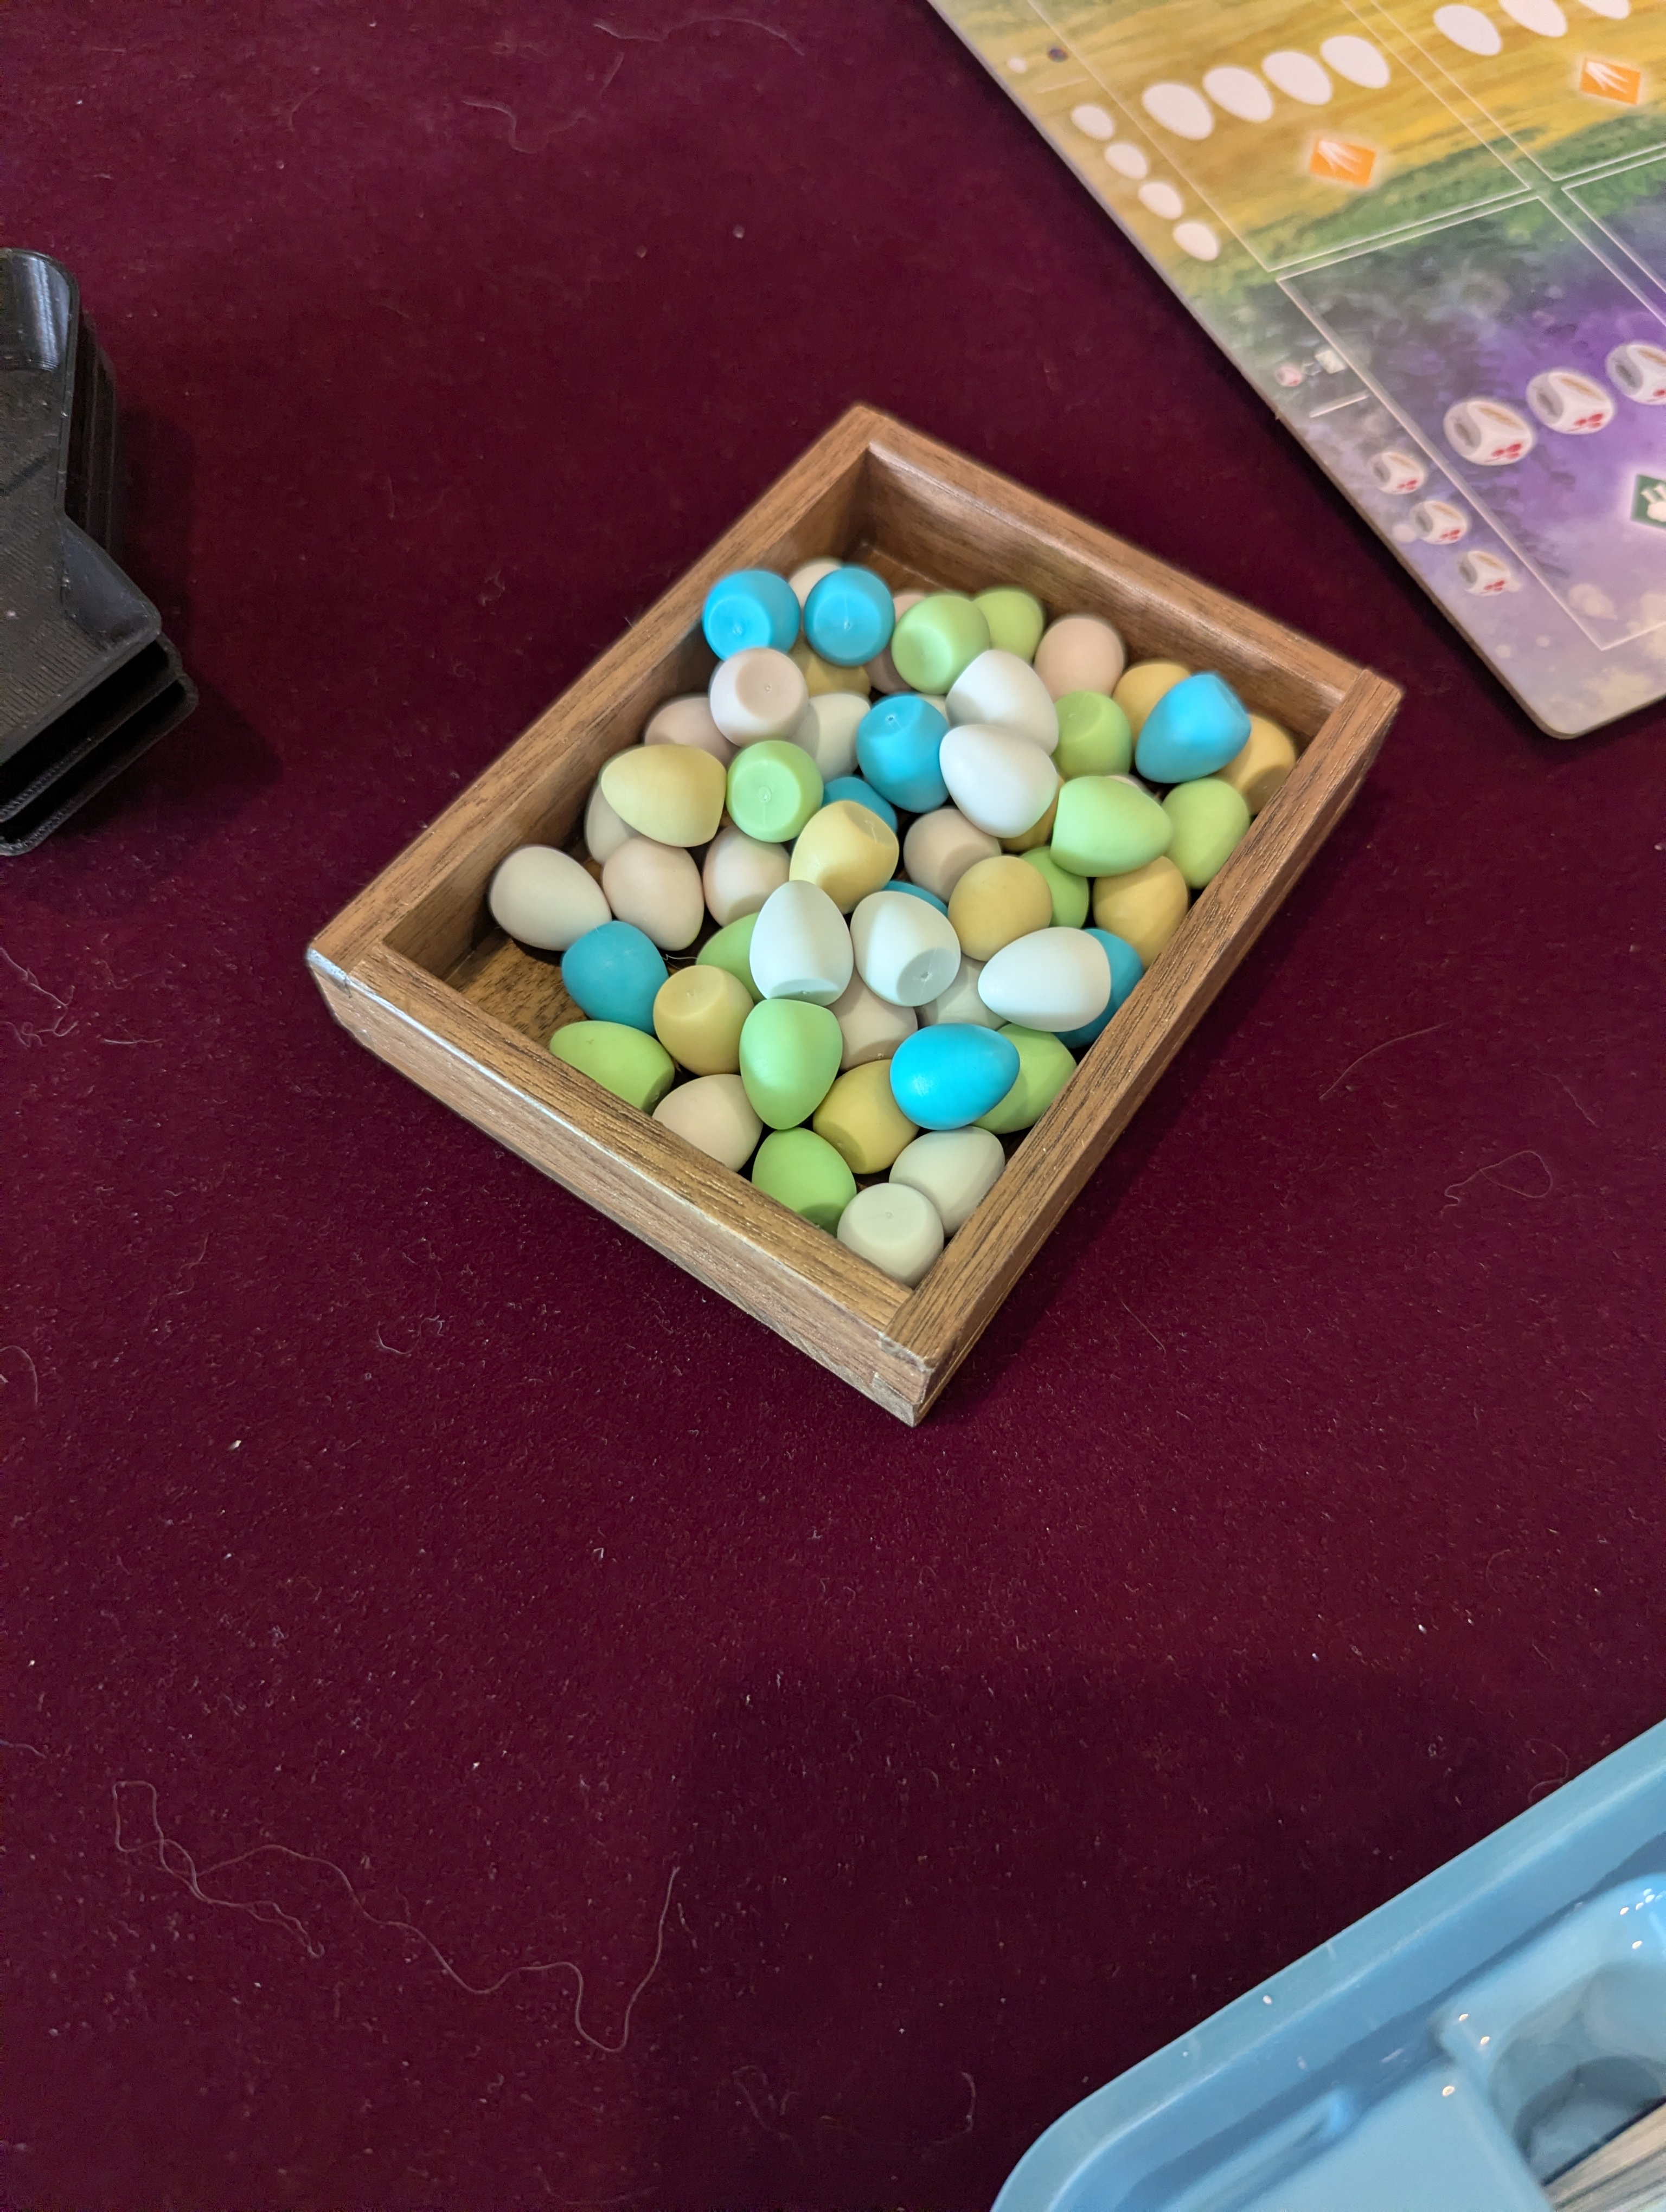
One tray finished! Looks great with one coat of clear poly.#ppp
2026-09-08
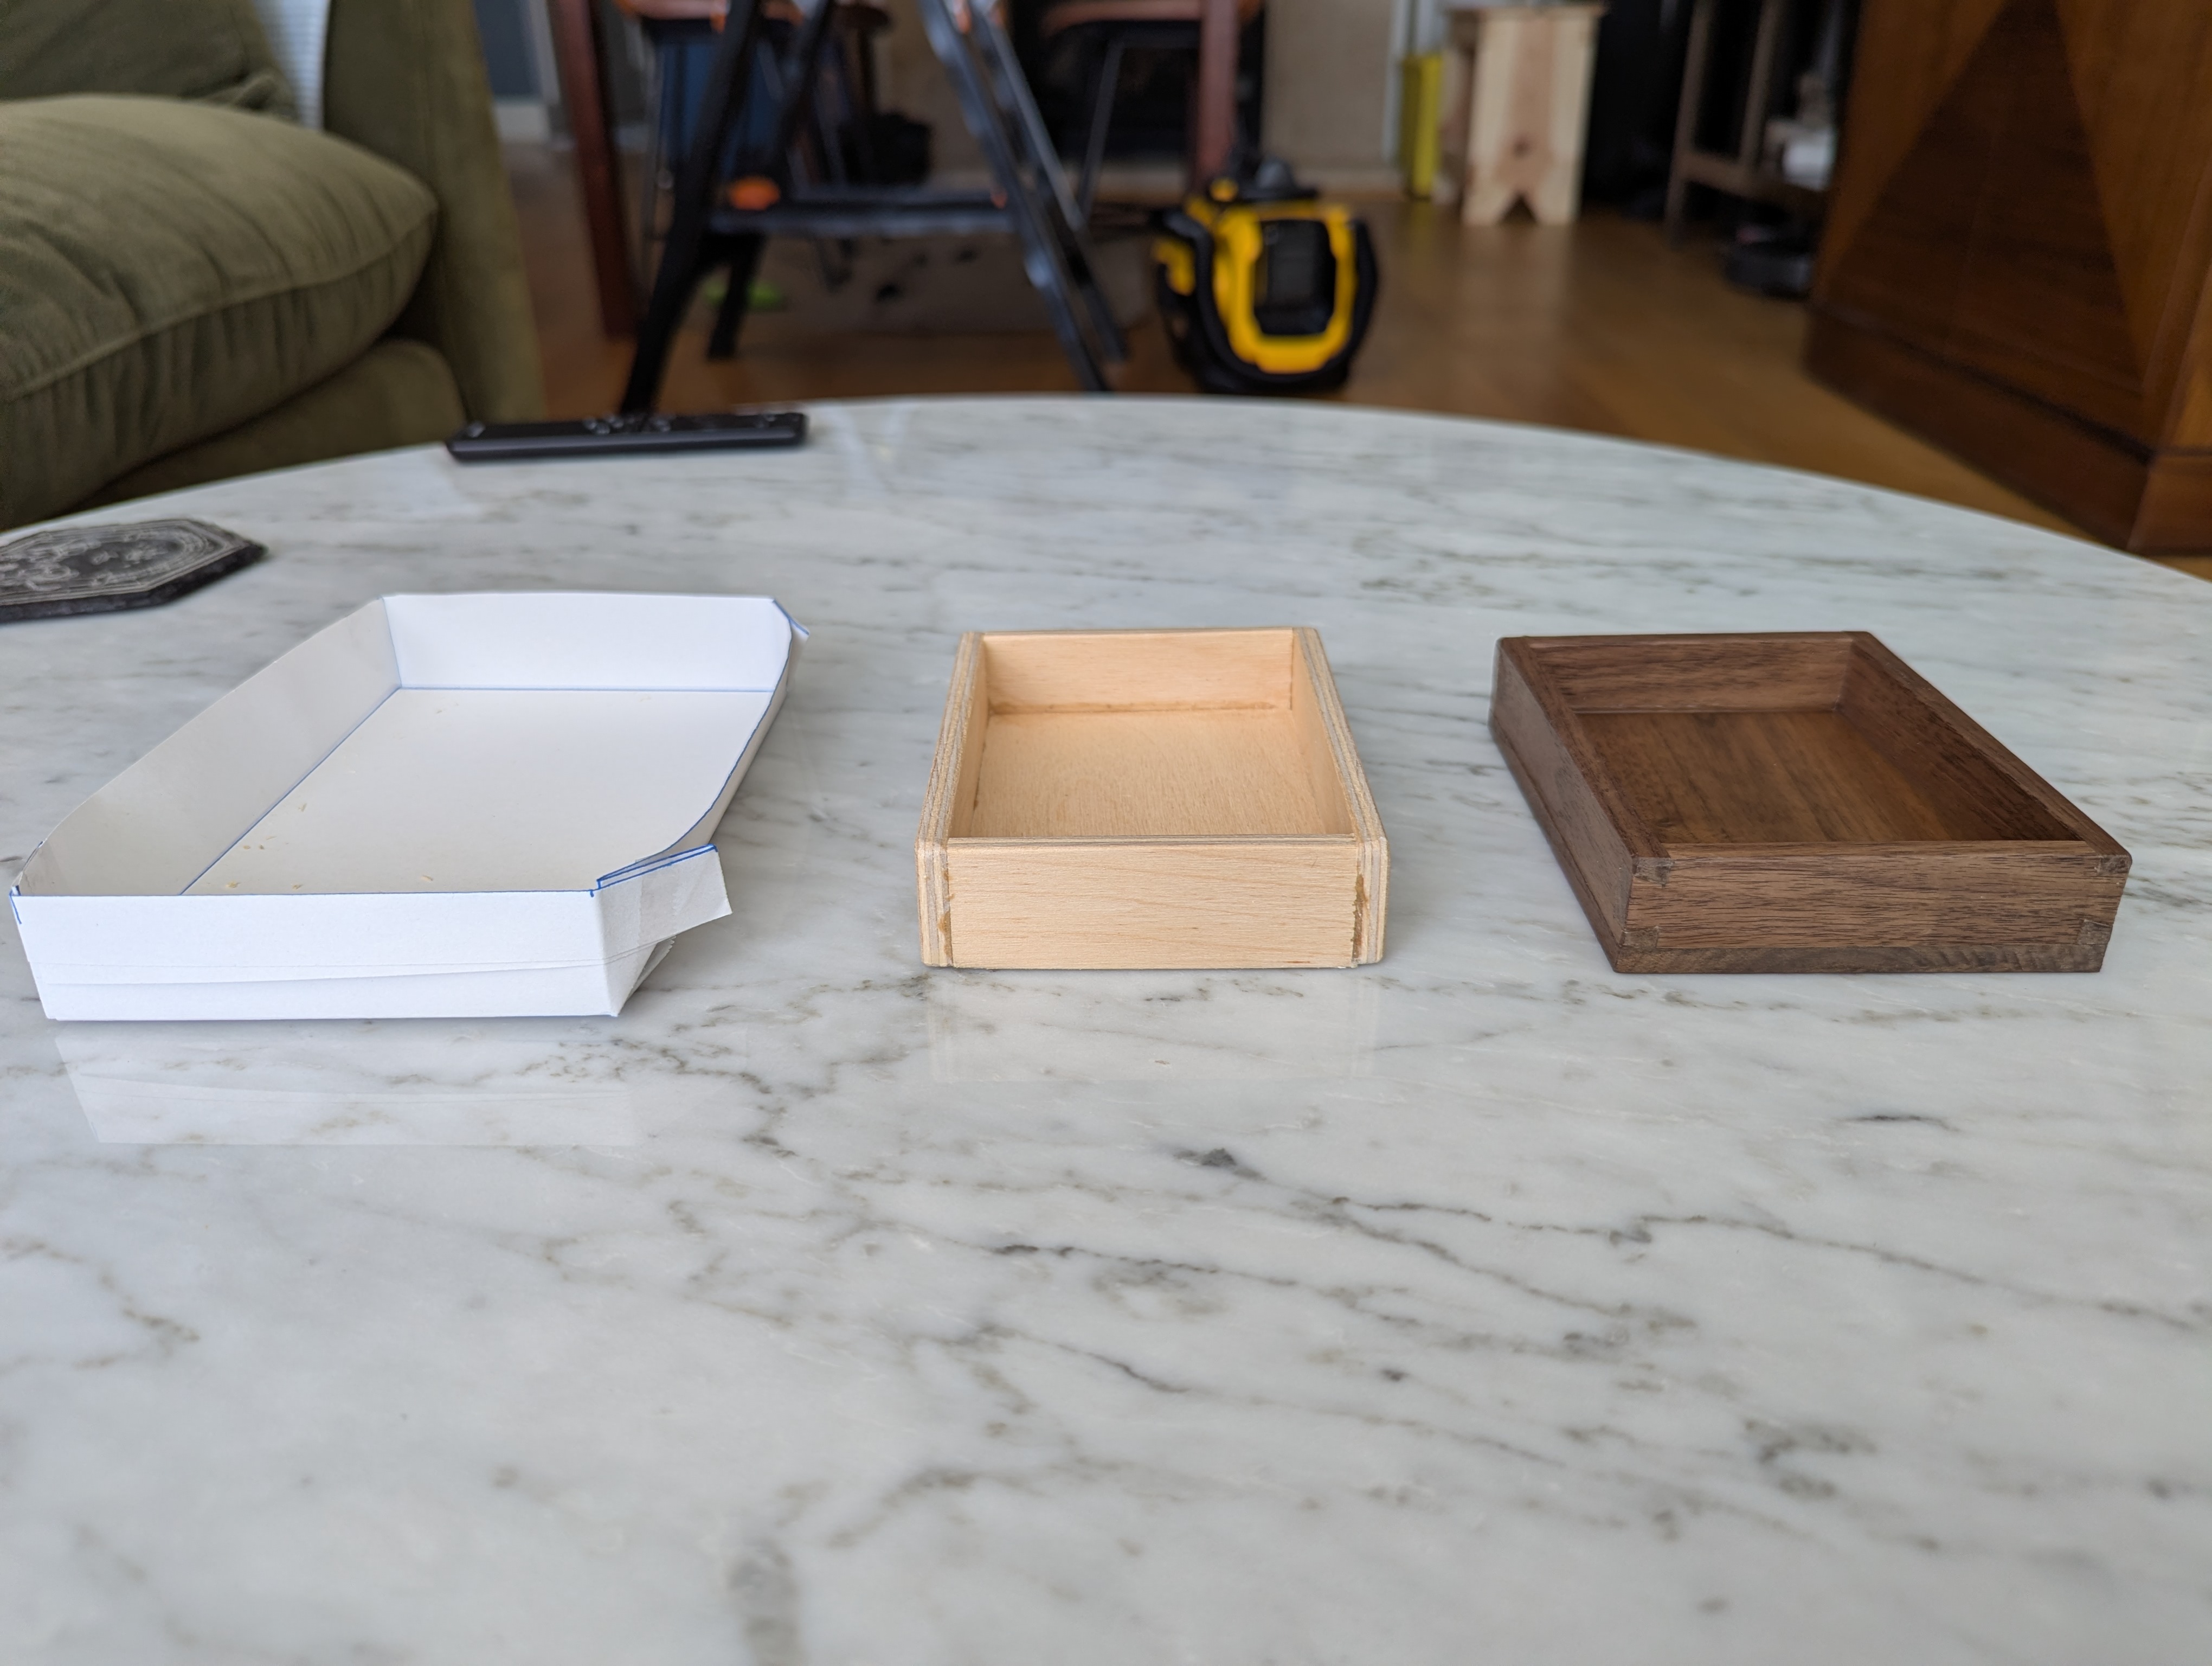
Second tray finished!#ppp