How to get started making cocktails
As well as software, I also make cocktails. I got into it a few years ago, and by now it’s become a fully grown hobby, as evidenced by the entire kitchen shelf given over to bottles, and the ongoing invasion of my fridge by Mason jars of syrups and infused spirits. (Luckily my roommate considers that an acceptable price to pay for having an onsite bartender!) One question I often get asked is: “How do I get started making drinks at home?”
Home bartending is a very satisfying hobby, not least because you’re working with booze. It offers much of the creativity and sensuality of cooking, but with a fraction of the prep and cleanup work. And there’s a thrill to making a tasty, classy drink at home, for around $4 instead of $8 plus tip. And it doesn’t take much to get started. Your average kitchen is probably only missing four cheap pieces of equipment to make a wide variety of cocktails.
If you want to get started for yourself, the following are my recommendations for what to get. They also make a nice gift package: buy someone these, wrap them up as a set, and they’ve got four fewer excuses not to start mixing their own drinks.
(Prices are taken from Amazon at time of writing, and for guidance only.)
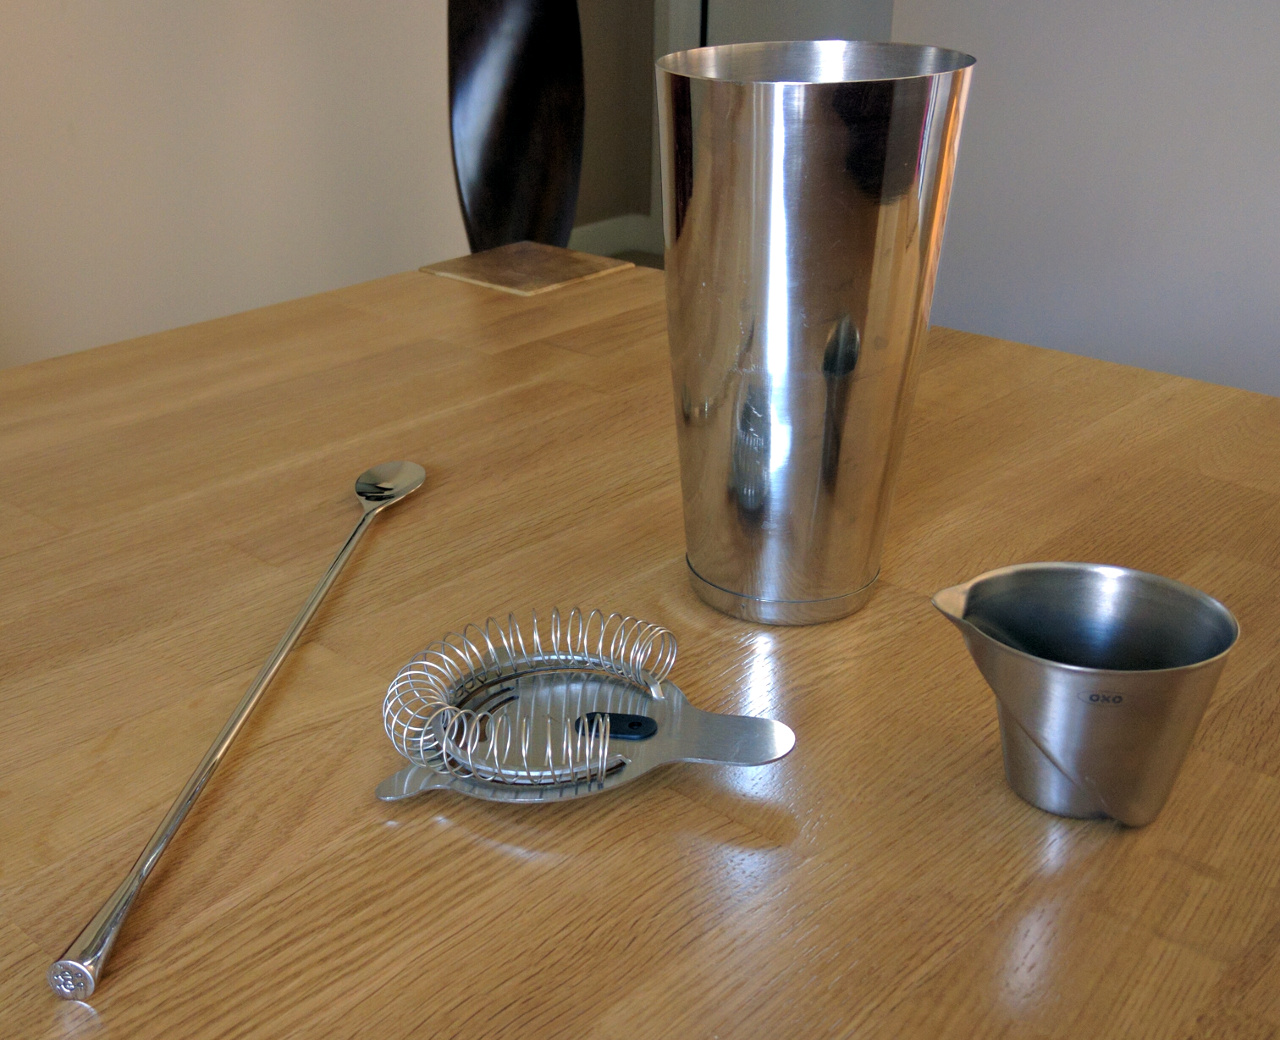
Cocktail shaker
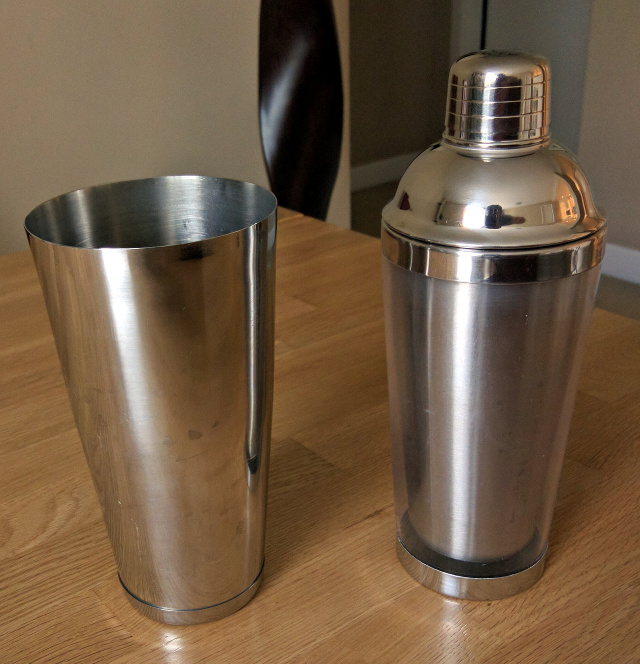
You need a shaker to make shaken1 drinks - Margarita, whiskey sour, Last Word, etc. You’ll see two different kinds: the Boston shaker, which is just a large metal cup that you use in combination with a mixing glass, and the three-piece shaker, which has a cup, strainer and cap all in one. The three-piece is iconic, but I prefer the Boston shaker as more effective and versatile (and also cheaper).2 It’s especially better if you’re making a larger quantity: you can pour ingredients into two glasses, then use the same shaker to shake both.
My recommendation: Winco Stainless Steel Bar Shaker, $5.69
Bar spoon
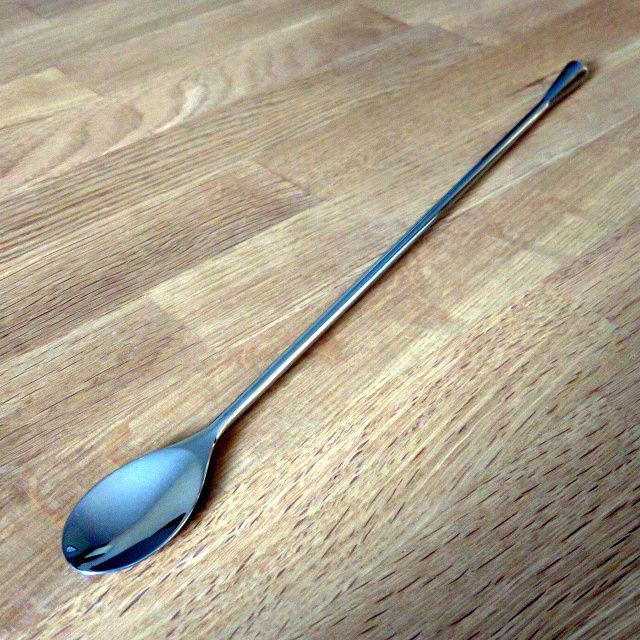
You need a bar spoon for making stirred1 drinks - Martini, Manhattan, Negroni. You can use a normal teaspoon or tablespoon, but you’ll knock the hell out of the ice, leading to more dilution than you want, and unsightly chunks of ice floating in the drink. A bar spoon has a long handle and a thin, flat bowl so that you can swish it around the outside of the mixing glass, in the process bringing more of the liquid into contact with the ice.
It’s hard to go wrong here, so something cheap with good Amazon reviews will do fine. If you’re buying as a gift, though, I recommend the Aero from Standard Spoon for its beautiful industrial design and precisely balanced weight.
My recommendation (budget edition): Hiware Iced Tea Spoon, $7.99 (I guess you can make iced tea with it too)
My recommendation (gift edition): AERO Cocktail Spoon, $35
Jigger
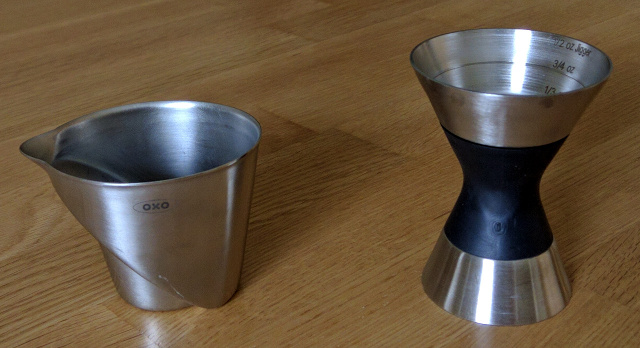
For measuring ingredients, you’ll need a jigger.3 You might have seen the iconic “double cone” design, which looks cool but is rather hard to use without spilling. I use one that’s a miniature version of a lined measuring jug, which makes it very easy to measure out various amounts.
My recommendation: OXO Steel Angled Measuring Jigger, $6.95
Strainer
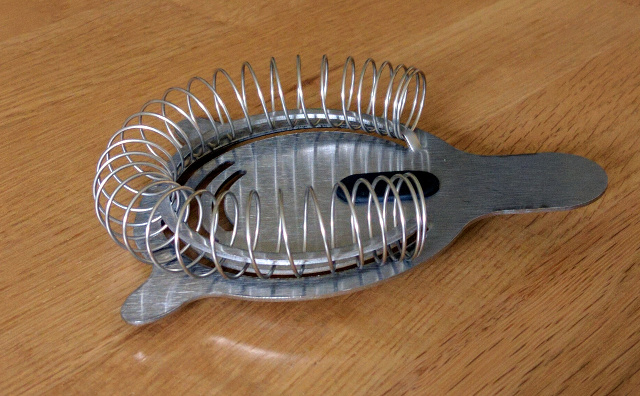
Whether you’re stirring or shaking, you’ll need a strainer to pour out the drink without the ice coming along too. The classic design has a circular metal spring that lets it fit in glasses of various diameters, and a rubber grip so you can hold the strainer in place with the same hand as holds the glass.
My recommendation: OXO Steel Cocktail Strainer, $6.99
Extras
That’s pretty much all the equipment you need, but there are a couple of items worth discussing:
Mixing glasses
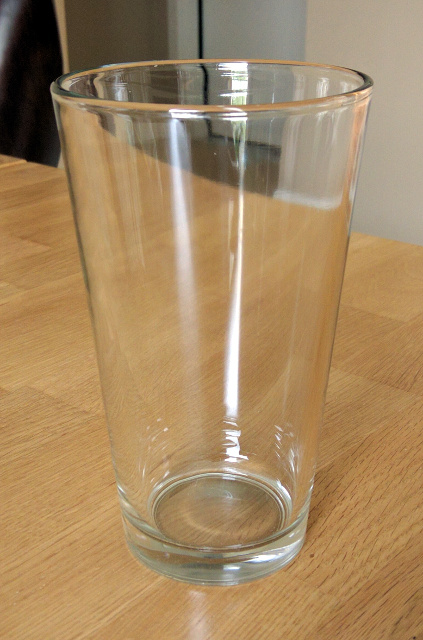
You can use just about anything here, so you’ve probably got something in the cupboard that will work. If you’re using the Boston shaker, though, you’ll get a better seal if the glass is about the size of a standard pub pint glass. Also, you’ll eventually end up breaking a glass in the process of freeing it from the shaker after shaking. I buy cheap, plain, sturdy pint glasses, which are hard to break and easy to replace.
My recommendation: ARC Luminarc Pub Beer Glass (Set of 4), $10.09
Citrus juicer
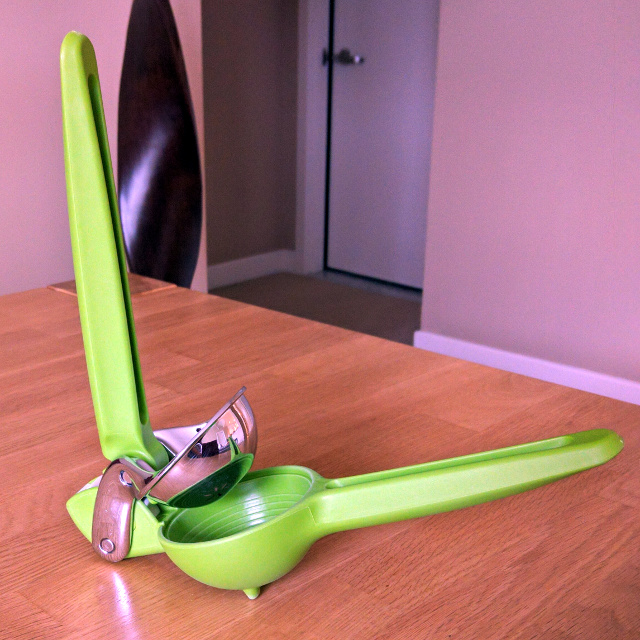
Since I started making cocktails I’ve become very opinionated about juicers. Lots of cocktails call for lime or lemon juice, and you’ll be doing a lot of juicing. I grew up with the type of juicer that has a lemon-shaped core surrounded by a dish to catch the juice; that type is really labour intensive for a large quantity of juice. Since I discovered the type that uses two long handles with a gear mechanism to bring leverage to bear, I’ve never looked back. It won’t get quite as much juice out of each fruit as the core-and-dish type, but it’s so much quicker and easier that it’s worth buying one extra lime every now and then.
My recommendation: Chef’n FreshForce Citrus Juicer, $15.91
Bottles
You might be wondering why I’ve not suggested buying any actual alcohol. That’s because it depends what you want to make.
The tricky part about home bartending is that lots of cocktail recipes require just one bottle you don’t have. An Aviation sounds delicious, but where can you buy crème de violette? You’d love to try a Martinez, but what is Old Tom gin anyway?
To solve this, one school of thought is to buy enough bottles that you can make a good variety, and expand from there. For example, the 9-Bottle Bar and 12-Bottle Bar. These are good ideas, but a bit intimidating (not to mention expensive) for getting started.
My preferred approach is the 3-bottle bar. Pick a drink you like, look up a recipe, and buy the three or four bottles you need to make just that drink. I started off with bourbon, sweet Italian vermouth, and Angostura bitters, to make Manhattans. Congratulations: you can now drink that whenever you feel like it!
Next, repeat for a drink your roommate, significant other, or best friend likes. Now you can make them a drink whenever you want!
If you’re lucky, those two drinks already had one bottle in common. If not, browse around a bit for recipes for which you’re just one bottle shy. Recipes also have quite a bit of overlap, so once you’ve bought a couple more bottles, you’ll start to find you can make quite a variety of things.
Resources
Once you get started, you’ll want to look up recipes, ingredients, techniques and so on. It’s easy to find good-quality information online - for example, I refer often to the cocktail section of Serious Eats for recipes - so I’d lean on Google before shopping for cocktail books. That said, if you want to learn more about the history, variety and lore of cocktails, David Wondrich’s Imbibe is a very entertaining hybrid of recipe book and documentary.
Now go make something delicious!
Photos are licensed CC BY-NC-SA. If you use them, please provide a link back to this blog post.
-
There are three main techniques for making cocktails: shaking, stirring and building. Without getting into the whole James Bond thing, it’s less of a stylistic preference and more about what’s in the drink. If your drink is all alcohol, stir it with ice and strain. If there’s a substantial juice component, shake it with ice and strain. A few drinks are “built” directly in the glass they’ll be drunk out of, such as the Mojito, involving muddled herbs, or the gin & tonic, where you want to preserve the fizz. Shaken vs stirred is an ongoing controversy, but this article breaks it down well. ↩ ↩2
-
The Boston shaker looks like it takes a lot of work to keep the two halves together, but actually the chilling from the ice forms a vacuum seal. ↩
-
Measure your cocktails. Free pour looks cool, but the whole point of a cocktail is balancing the ingredients to complement but not drown each other. If the proportions are off, you’ll get a sugary mess, or something that doesn’t quite taste like anything. Besides, part of the creativity is adjusting the proportions to the drinker’s taste; but good luck doing that if you don’t know how much of everything is going in! ↩